


Paint your nail black.

Tear a little piece off of a make up sponge. Make sure the piece isn't to small for you to hold.

Get a white nail polish and put a drop of the polish on the paper. Dab your sponge in the polish, but make sure you don't get to much. To insure you didn't get to much on your sponge dab the sponge on the paper once. After that, apply the polish with sponge, making sure you focus the white polish in the center of the nail.

Now with a pink polish, dab the sponge in the pink polish and apply it to the nail, but make sure you don't have to much on your sponge first. Apply the pink on the outer rim of the white.

Now apply the blue on the outer rim to. Make sure that put some blue on top of the pink so you can have a purple color to. This gives the nail a very gradient look. You don't have to wait for the nail to dry because the nail is not as wet.
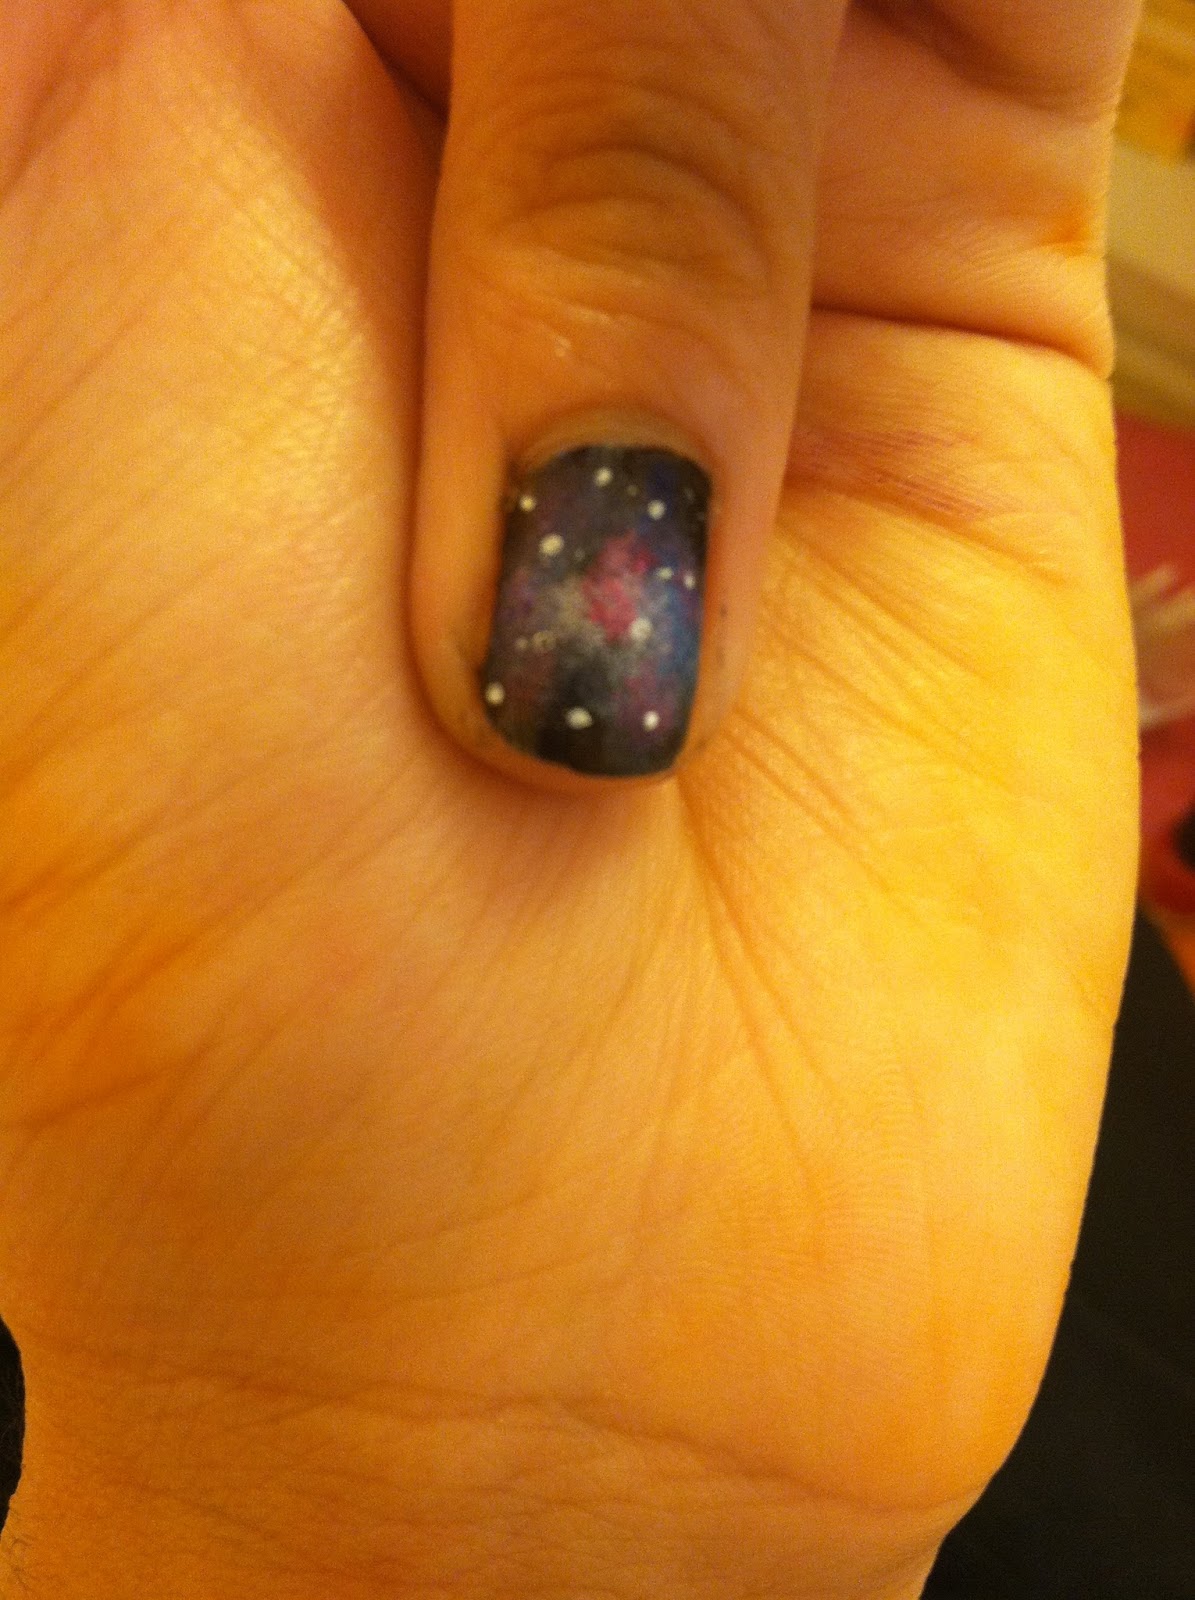
Now using a tooth pick, dip the tooth pick into white polish and draw dots on your nail. The dots give the allusion of stars. If you don't have a sparkly top coat, then make more stars then me. If you have a sparkly top coat, don't make to many dots, or the design will get overwhelming.

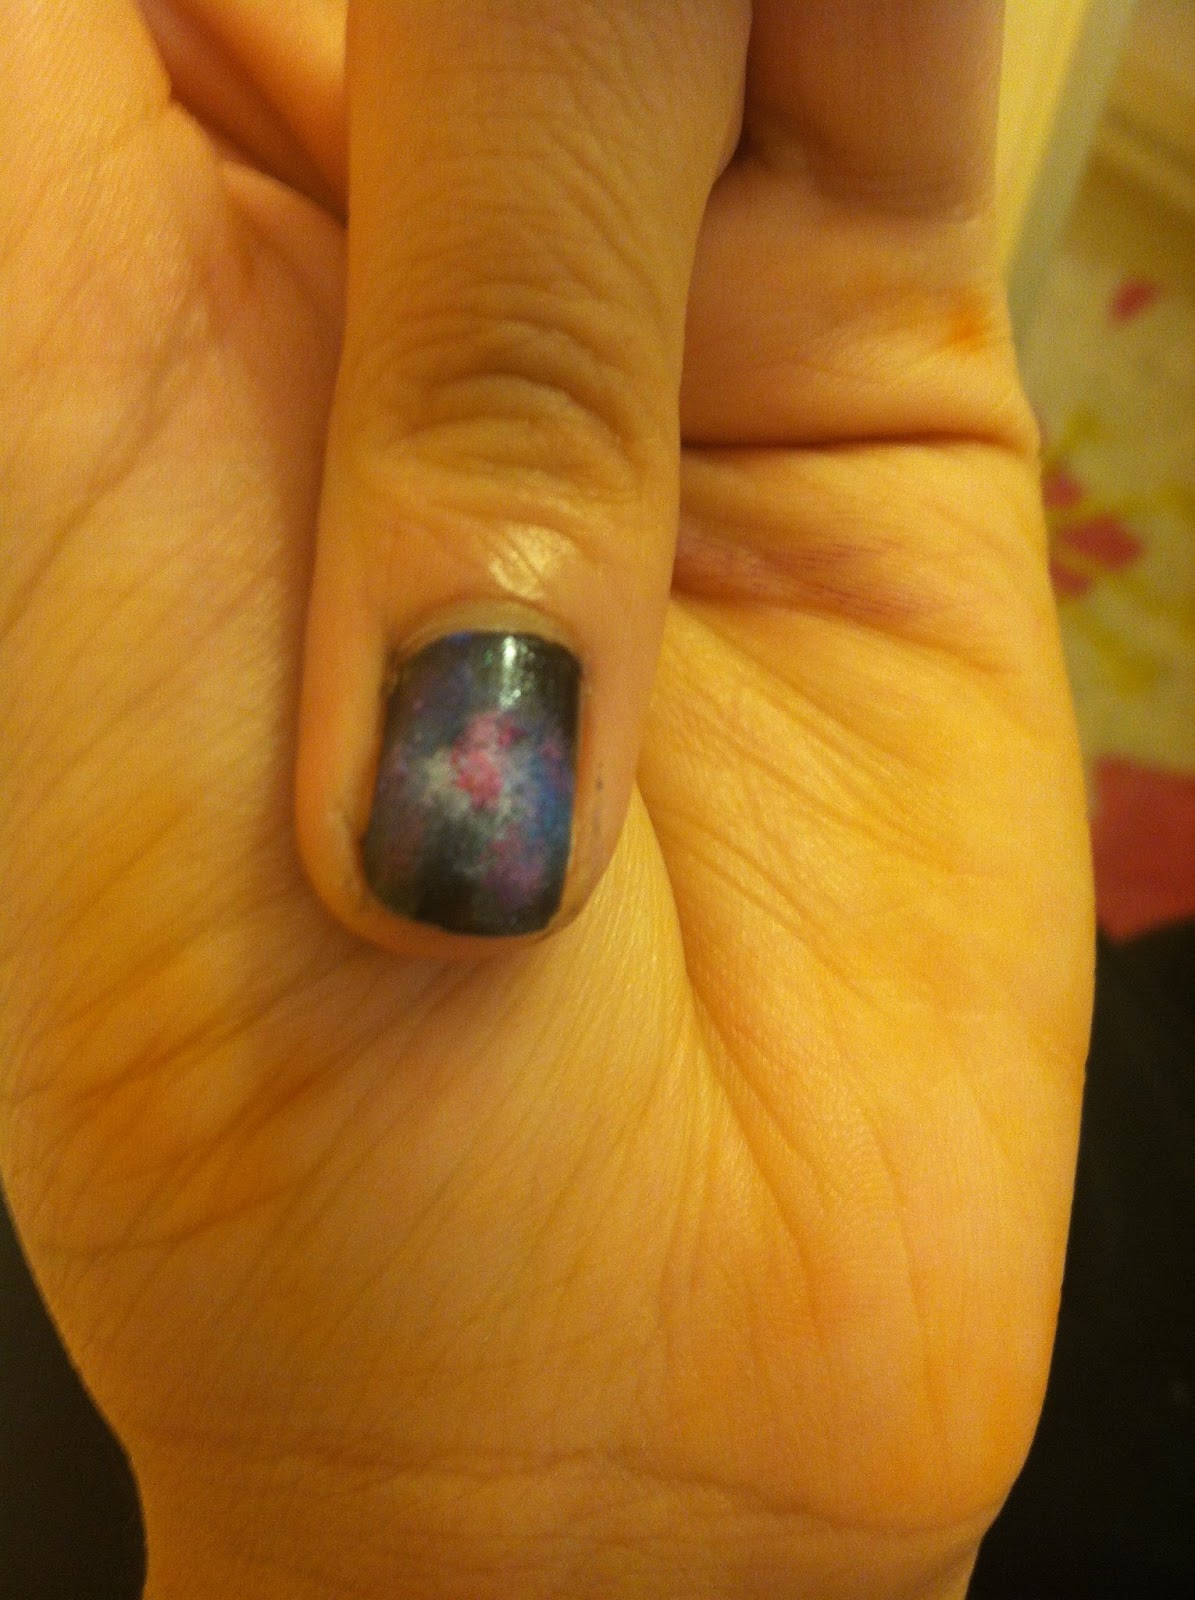
And you are done! If you don't have a sparkly top coat, just use a regular top coat and you are go to go. You can do this on every nail or just your thumb and ring finger like me. If you choose to the thumb and ring finger only, use a pink or blue color or white color to paint the rest of your nails! I hope this design works out well for everyone and leave a comment below showing me how your design came out!
~Alley
No comments:
Post a Comment
Thanks for the comments! Feel free to leave your blog's link so I can check it out!